Intro
Freenit is framework made to automate all your WEB dev work. It is made of tree parts:
- Designer to speed up design and UI work
- Frontend library based on Svelte
- Backend library based on FastAPI
The idea is to automate and integrate as much as possible and let you be just
creative and concentrate on important stuff. Usual workflow is to use designer
as drag and drop tool for UI and export it as code. While working on it, saving
your work in .json format enables you to save it in git and easily "rewind"
to the UI design at a certain point. When code is exported from such .json
file, it is pixel-perfect UI, but still not perfect code. Running
npm run format will help. You will still need to adjust the code to add
integration with backend, but it is in the best shape generic code can be. Once
you reshape the code to your liking, data variable in such code can serve as
format of messages frontend expect from backend. The backend work is usually in
two parts: DB models and API endpoints. In all of this code snippets will help
you if you use VSCode or LunarVim (list of supported editors will expand over
time).
All of this is just words. Dive into tutorial to see what Freenit is really about.
Bootstrap the Project
The first thing to do is create the project itself. First, make sure you have
tmux installed, as Freenit uses it to run different services (backend and
frontend, currently, but you can add more later).
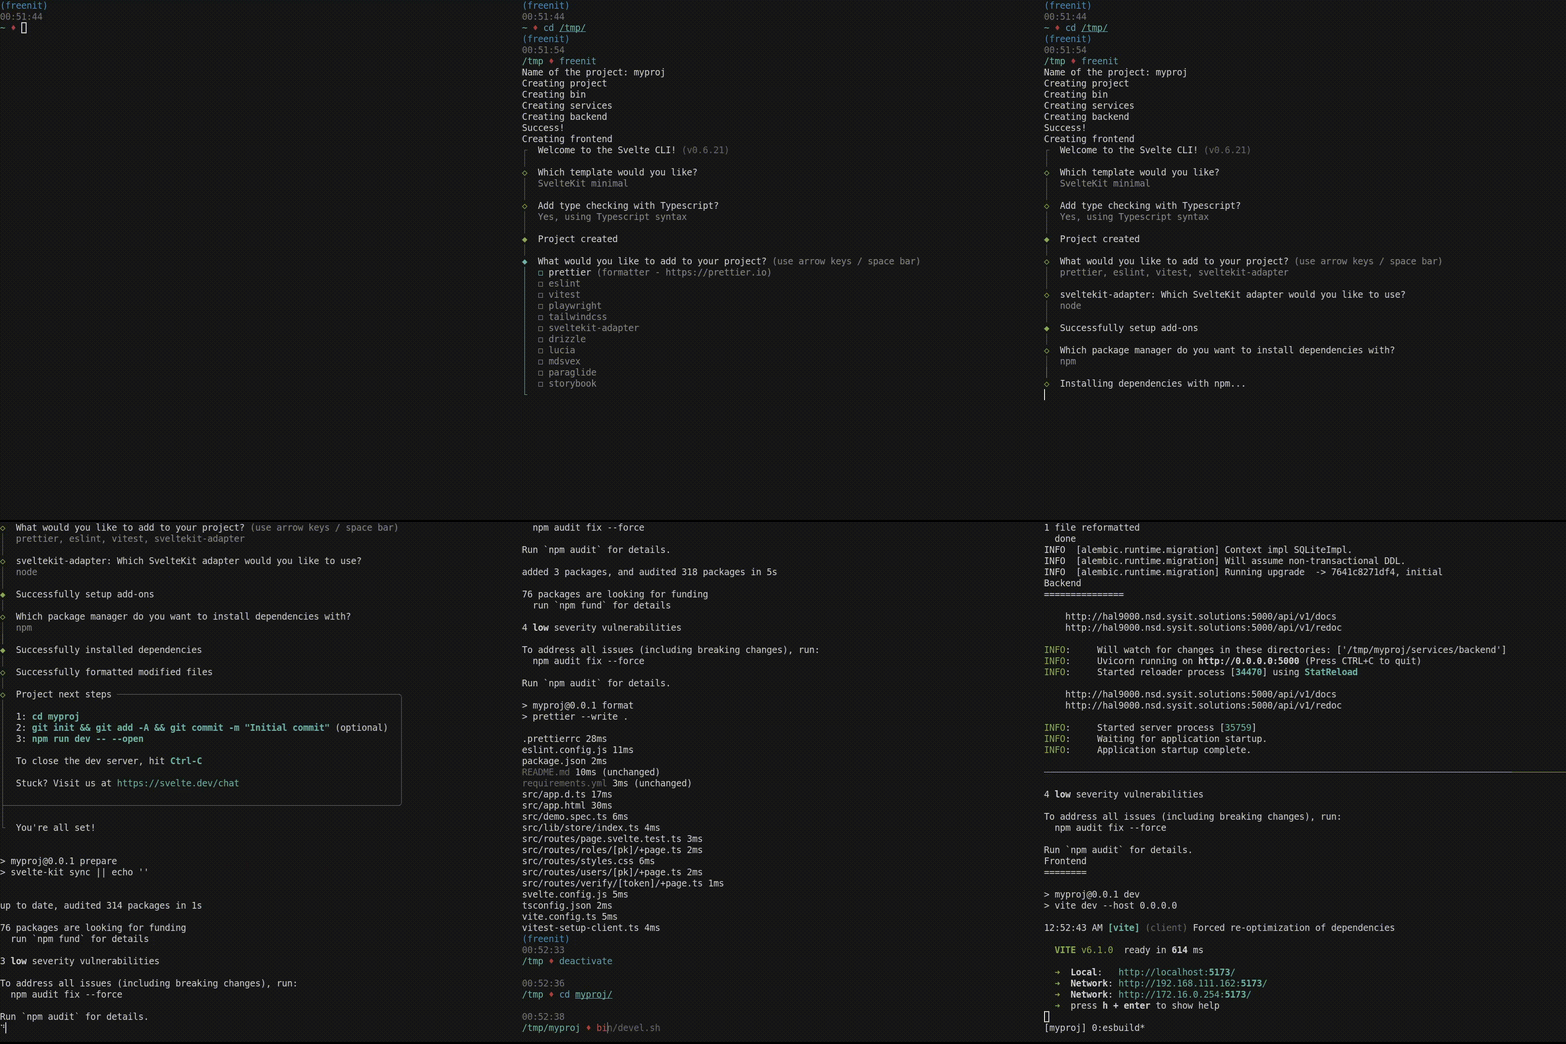
$ freenit myproj
Creating project
Creating bin
Creating services
Creating backend
Success!
Creating frontend
Which template would you like?
  SvelteKit minimal (barebones scaffolding for your new app)
Add type checking with Typescript?
  Yes, using Typescript syntax
What would you like to add to your project? (use arrow keys / space bar)
  prettier (formatter - https://prettier.io)
  eslint (linter - https://eslint.org)
  vitest (unit testing - https://vitest.dev)
  sveltekit-adapter (deployment - https://svelte.dev/docs/kit/adapters)
sveltekit-adapter: Which SvelteKit adapter would you like to use?
  node (@sveltejs/adapter-node)
Which package manager do you want to install dependencies with?
  npm
This will create the directory myproject and initialize it. Let's start the
project.
$ cd myproj
$ bin/devel.sh
At this point you'll be presented with a split screen: one for backend, one for
frontend. At that screen, you'll see URLs for both services. The interesting
one is http://localhost:5173. If you visit it, it will greet you with a
message Landing Page in src/routes/+page.svelte. That is usually the first
page you will change.
